> ## Documentation Index
> Fetch the complete documentation index at: https://docs.briefer.cloud/llms.txt
> Use this file to discover all available pages before exploring further.
# Virtual Machine (Generic)
> A generic guide on how to deploy Briefer on any virtual machine.
This guide will teach you how to deploy Briefer on any VM so that your whole team can access it and collaborate.
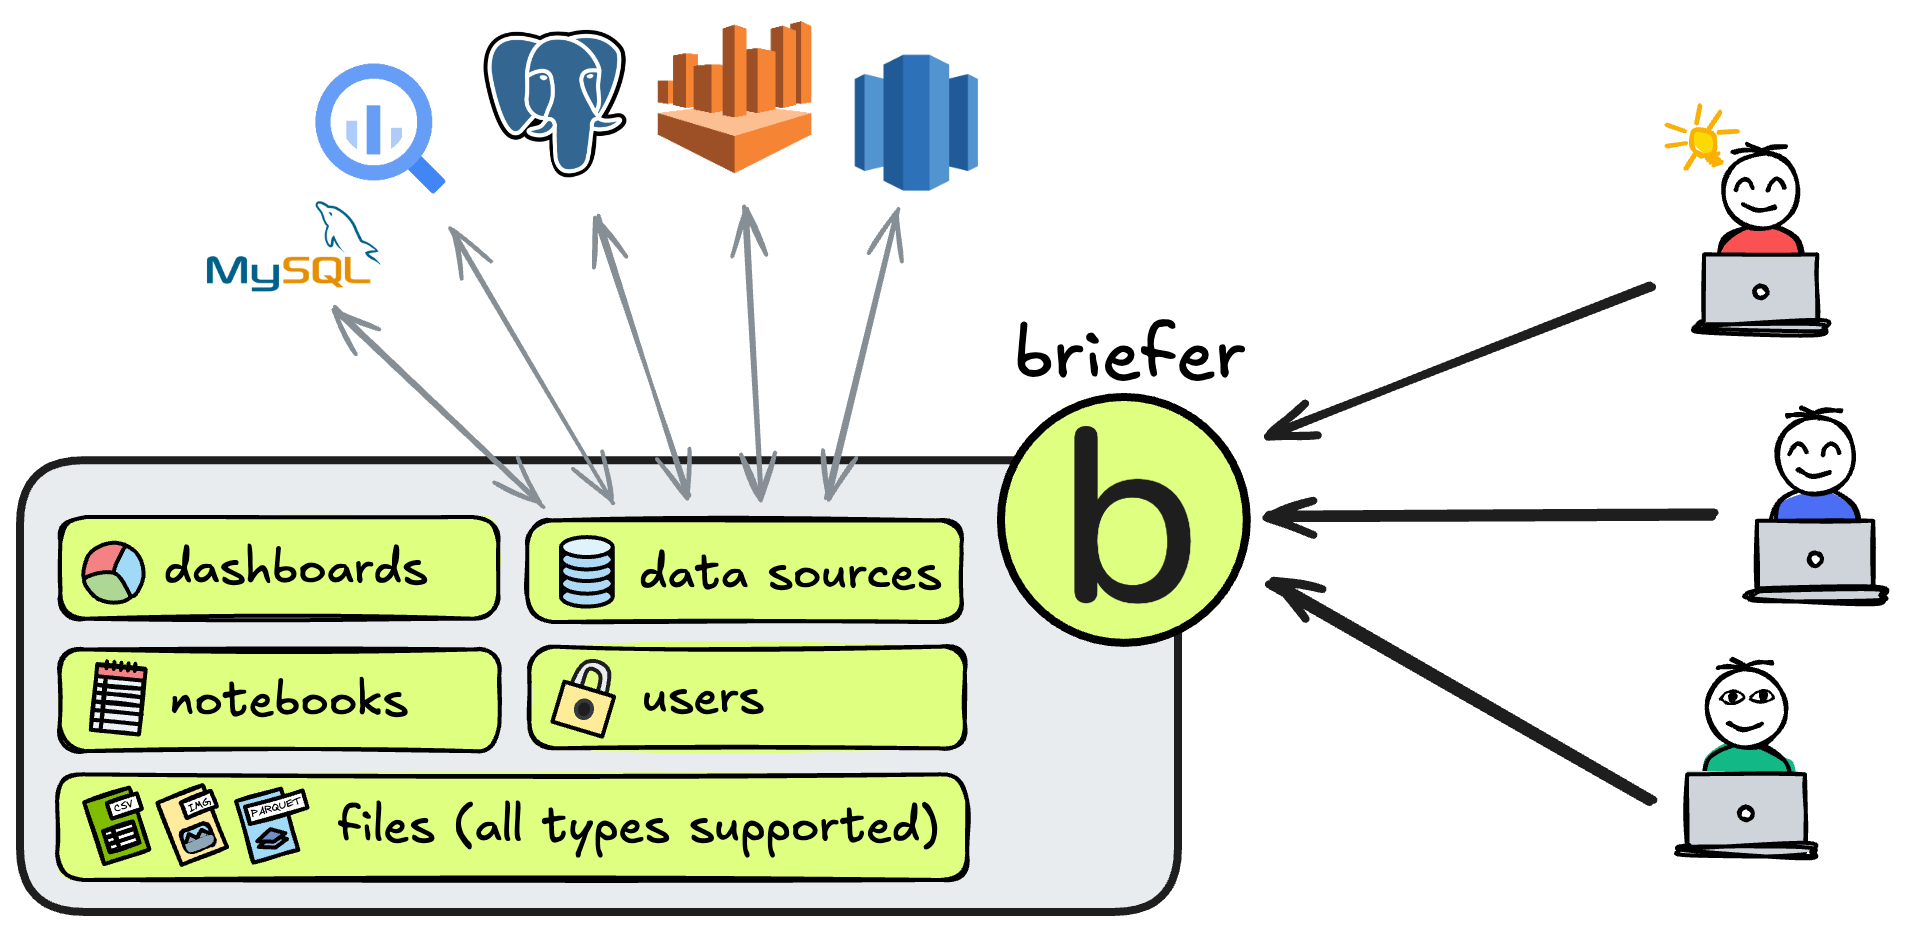
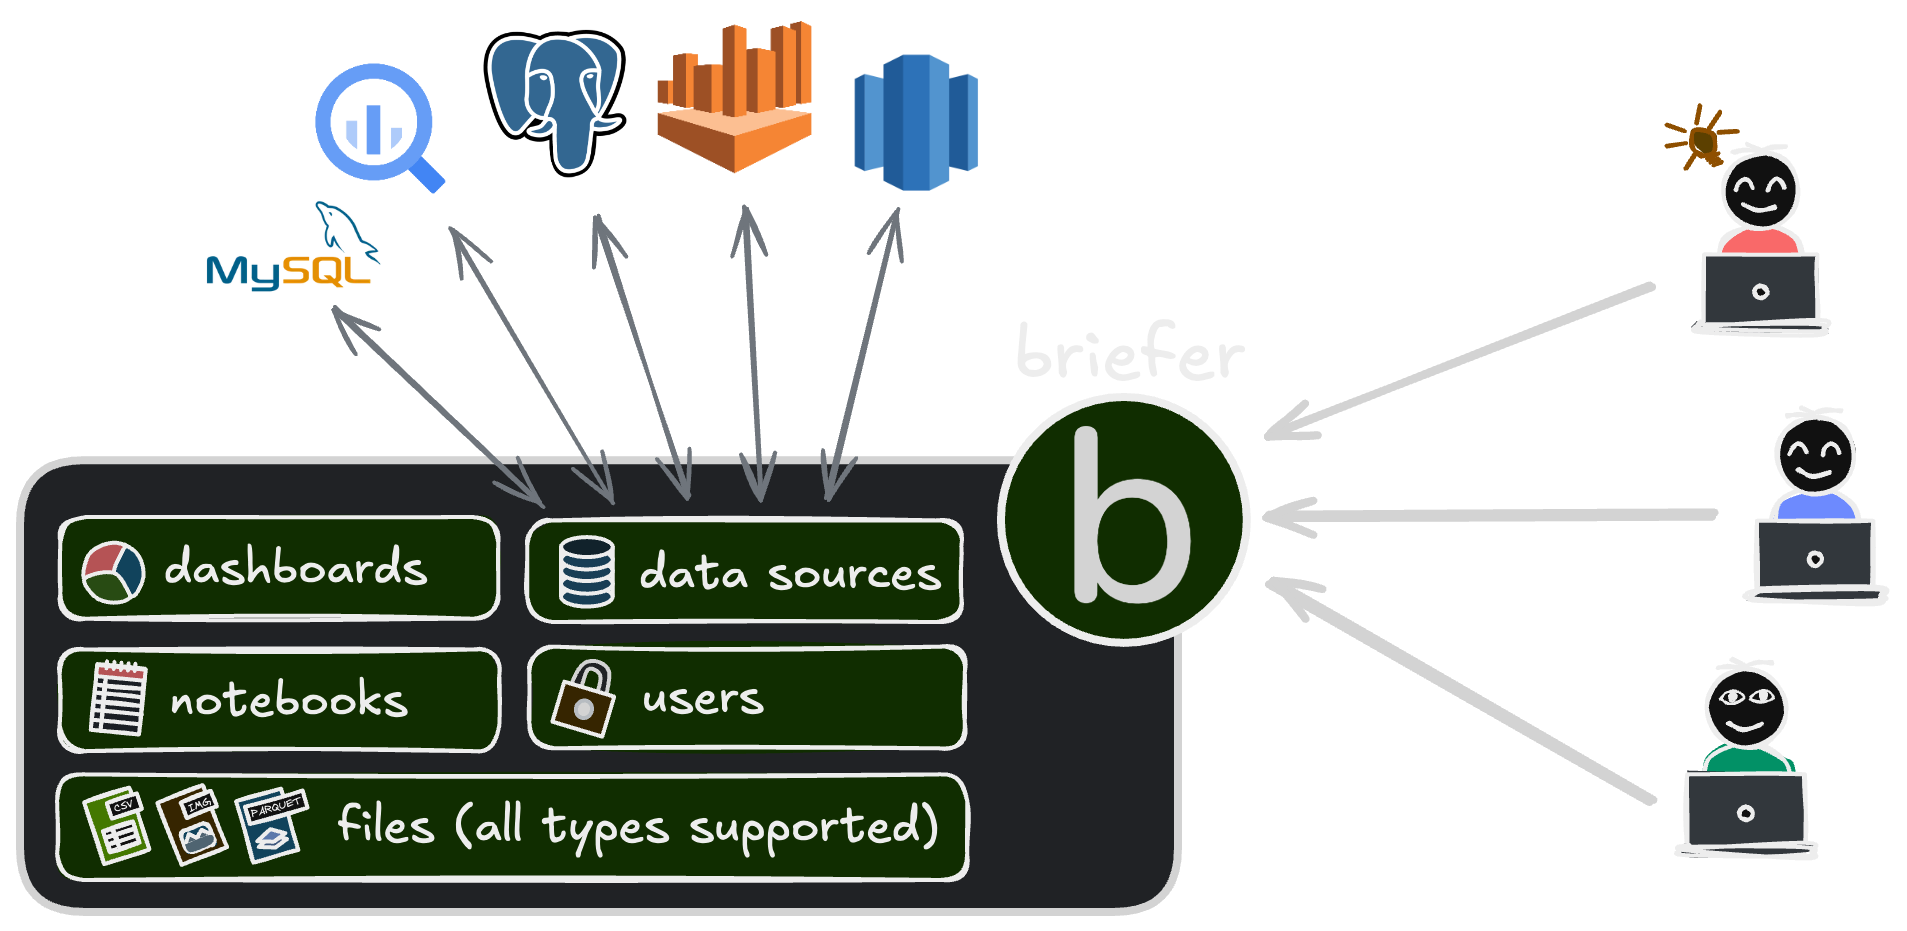 We'll start this guide by explaining Briefer's components and how your Briefer deployment will work. Then, we'll teach you how to deploy it. We recommend you *not* to skip the first part.
## What does a briefer deployment include?
Briefer deployments have the following components:
* A web application that users will access in their browsers.
* An API that the web application will talk to.
* A database to store the data that users upload.
* A Jupyter server that runs the actual code.
* An [nginx](https://nginx.org) instance which routes traffic to the web and API services.
* An optional AI service that runs the AI features like code generation and automatic fixes.
Don't worry, all of these components are bundled into Briefer's container so
you don't have to set them up individually unless you want to.
## How will my Briefer deployment work?
After deploying Briefer, you'll access the web application in your browser and it'll talk to the API. In turn, the API will talk to the database and the Jupyter server, which are not exposed.
We'll start this guide by explaining Briefer's components and how your Briefer deployment will work. Then, we'll teach you how to deploy it. We recommend you *not* to skip the first part.
## What does a briefer deployment include?
Briefer deployments have the following components:
* A web application that users will access in their browsers.
* An API that the web application will talk to.
* A database to store the data that users upload.
* A Jupyter server that runs the actual code.
* An [nginx](https://nginx.org) instance which routes traffic to the web and API services.
* An optional AI service that runs the AI features like code generation and automatic fixes.
Don't worry, all of these components are bundled into Briefer's container so
you don't have to set them up individually unless you want to.
## How will my Briefer deployment work?
After deploying Briefer, you'll access the web application in your browser and it'll talk to the API. In turn, the API will talk to the database and the Jupyter server, which are not exposed.

 ## Deploying Briefer
The simplest way to deploy Briefer is to run it as a single container.
If you do that, you'll only need to install Docker on your server and run a single command to start Briefer.
Then, you'll have to make sure that this server is accessible to all the people who will use Briefer.
Here's a step-by-step guide to deploy Briefer as a single container:
1. Get a machine and SSH into it.
2. Install Docker on the machine.
```bash theme={null}
# On an EC2 instance, for example
sudo yum update -y
sudo yum install docker -y
sudo systemctl start docker
```
3. Pull and run the all-in-one Docker image for Briefer.
```bash theme={null}
docker run -d \
-p 3000:3000 \
-v briefer_psql_data:/var/lib/postgresql/data \
-v briefer_jupyter_data:/home/jupyteruser \
-v briefer_briefer_data:/home/briefer \
briefercloud/briefer
```
If you want to serve Briefer over HTTP (usually because you're using an IP
directly) you should consider setting `--env ALLOW_HTTP="true"` in the
above command.
4. Expose your server to the internet or your local network.
Make sure that you allow traffic on port `3000`.
5. (Optional) If you want to use a domain name rather than an IP, create the necessary DNS records to access port `3000`. Otherwise, skip this step.
6. (Optional, recommended) Set up the certificates for your Briefer deployment so that you can use HTTPS.
The way most people set up certificates is by placing a load balancer or reverse proxy in front of Briefer and then configuring it to use the certificates you created for Briefer's domain (`briefer.yourcompany.example.com`).
## Using an external Postgres instance to store Briefer's data (recommended)
By default, Briefer will store its own data in a Postgres instance bundled within its container.
We recommend that you replace this local Postgres instance by a managed one, like an AWS RDS or Supabase Postgres instance.
To do that, you'll need to set these environment variables when running your Briefer container.
* `POSTGRES_HOSTNAME`: Your Postgres instance's address.
* `POSTGRES_PORT`: Your Postgres instance's port.
* `POSTGRES_DATABASE`: The name of the database to use within Postgres.
* `POSTGRES_USERNAME`: The username Briefer should use to connect to your Postgres instance.
* `POSTGRES_PASSWORD`: The password for the chosen Postgres user.
This way, you will have automated back-ups and — if you need to — you will be able to re-deploy Briefer in another machine and retain your data.
## Deploying Briefer
The simplest way to deploy Briefer is to run it as a single container.
If you do that, you'll only need to install Docker on your server and run a single command to start Briefer.
Then, you'll have to make sure that this server is accessible to all the people who will use Briefer.
Here's a step-by-step guide to deploy Briefer as a single container:
1. Get a machine and SSH into it.
2. Install Docker on the machine.
```bash theme={null}
# On an EC2 instance, for example
sudo yum update -y
sudo yum install docker -y
sudo systemctl start docker
```
3. Pull and run the all-in-one Docker image for Briefer.
```bash theme={null}
docker run -d \
-p 3000:3000 \
-v briefer_psql_data:/var/lib/postgresql/data \
-v briefer_jupyter_data:/home/jupyteruser \
-v briefer_briefer_data:/home/briefer \
briefercloud/briefer
```
If you want to serve Briefer over HTTP (usually because you're using an IP
directly) you should consider setting `--env ALLOW_HTTP="true"` in the
above command.
4. Expose your server to the internet or your local network.
Make sure that you allow traffic on port `3000`.
5. (Optional) If you want to use a domain name rather than an IP, create the necessary DNS records to access port `3000`. Otherwise, skip this step.
6. (Optional, recommended) Set up the certificates for your Briefer deployment so that you can use HTTPS.
The way most people set up certificates is by placing a load balancer or reverse proxy in front of Briefer and then configuring it to use the certificates you created for Briefer's domain (`briefer.yourcompany.example.com`).
## Using an external Postgres instance to store Briefer's data (recommended)
By default, Briefer will store its own data in a Postgres instance bundled within its container.
We recommend that you replace this local Postgres instance by a managed one, like an AWS RDS or Supabase Postgres instance.
To do that, you'll need to set these environment variables when running your Briefer container.
* `POSTGRES_HOSTNAME`: Your Postgres instance's address.
* `POSTGRES_PORT`: Your Postgres instance's port.
* `POSTGRES_DATABASE`: The name of the database to use within Postgres.
* `POSTGRES_USERNAME`: The username Briefer should use to connect to your Postgres instance.
* `POSTGRES_PASSWORD`: The password for the chosen Postgres user.
This way, you will have automated back-ups and — if you need to — you will be able to re-deploy Briefer in another machine and retain your data.